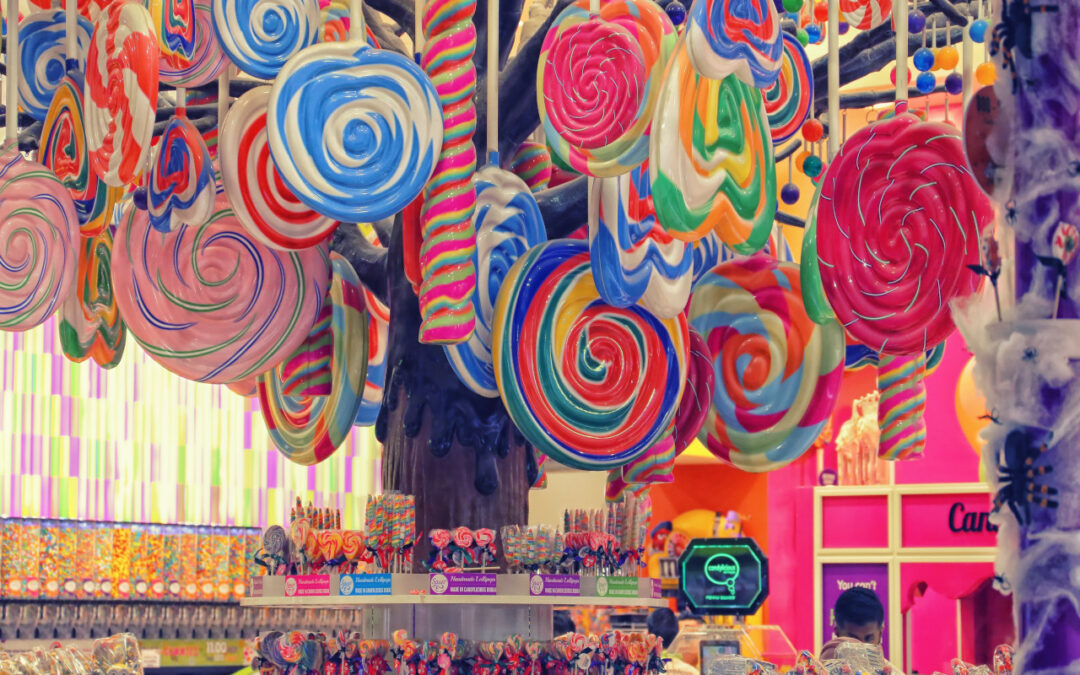
The best lollipop molds are essential when making delicious candies from home and directly related to how you would like the candy to look. Different lollipop molds give your candies a clean appearance.
Additionally, they give you the freedom to shape your lollipops into many different designs allowing you to create unique and specialized candies for parties, holidays, or family and friends.
There are three types of basic candy and lollipop molds. People are most familiar with the basic flat candy mold. These molds allow you to create specific shapes like hearts for Valentine’s Day, pumpkins for Halloween, trees for Christmas, etc. If you look hard enough online or in nearby cooking supply stores or craft stores, you can find almost any shape or design you are looking for. Flat candy molds are easy to use and store and cheap to buy. Most candy molds are typically plastic, resin, or rubber and are, as their name implies, flat. The hot candy is poured into the mold and is then allowed to harden. One flat candy mold typically comes with the shape of more than one of the specific types of designs pressed into it, allowing you to make several candies at one time. When the candy has cooled, the mold is flipped over and the candies are “popped” by applying a little pressure to the back. One side of the candy is left with the design imprinted on it, while the other side of the candy is flat.
Another type of candy mold is called a 3-D mold. A 3-D candy mold can also be used for lollipops and give your candies a greater shape than the flat candy molds. Rather than being flat on one side, a 3-D candy mold creates candies that have greater depth and shape all around. Like the flat candy molds, they are also simple to use. A 3-D candy mold is sold in two pieces. One piece is the front side of the design, and the other is the back side of the design. You pour the candy into one side of the mold almost to the top. You then allow the candy to harden. You also pour the candy into the backside of the mold about a quarter of an inch from the top and allow the candy to harden almost completely. When the candy in the backside of the mold is almost completely hard, pop the candy out of the front side and gently place it on top of the backside. After the candy hardens completely, the two separate candy sides should stay together. Other types of 3-D molds are sold as one piece with one half of the design on one side and the other half of the design on the other side, and the entire mold folds together. With these types of 3-D candy molds, you pour the candy into both sides at the same time. You fold the mold in half bringing each half of the design together before the candy is almost hard.
The third kind of candy mold is a hollow mold. This candy mold is not used for lollipops. Hollow candy molds are used when you like to fill the middle of your candies with a treat like peanut butter. Although these molds can be used with hard candies, they are mostly for chocolates.
After the chocolate is melted, use a small paintbrush to brush the chocolate onto the sides of the mold. You then place the mold in the refrigerator to give the chocolate a chance to chill. This process might have to be done several times until there is enough chocolate around the sides of the mold so that the light does not shine through if you were to hold the mold up to it. You then place your filling inside the mold and cover it with the rest of the chocolate. When the chocolate is completely hardened, you can carefully pop out the candies from the mold.


